
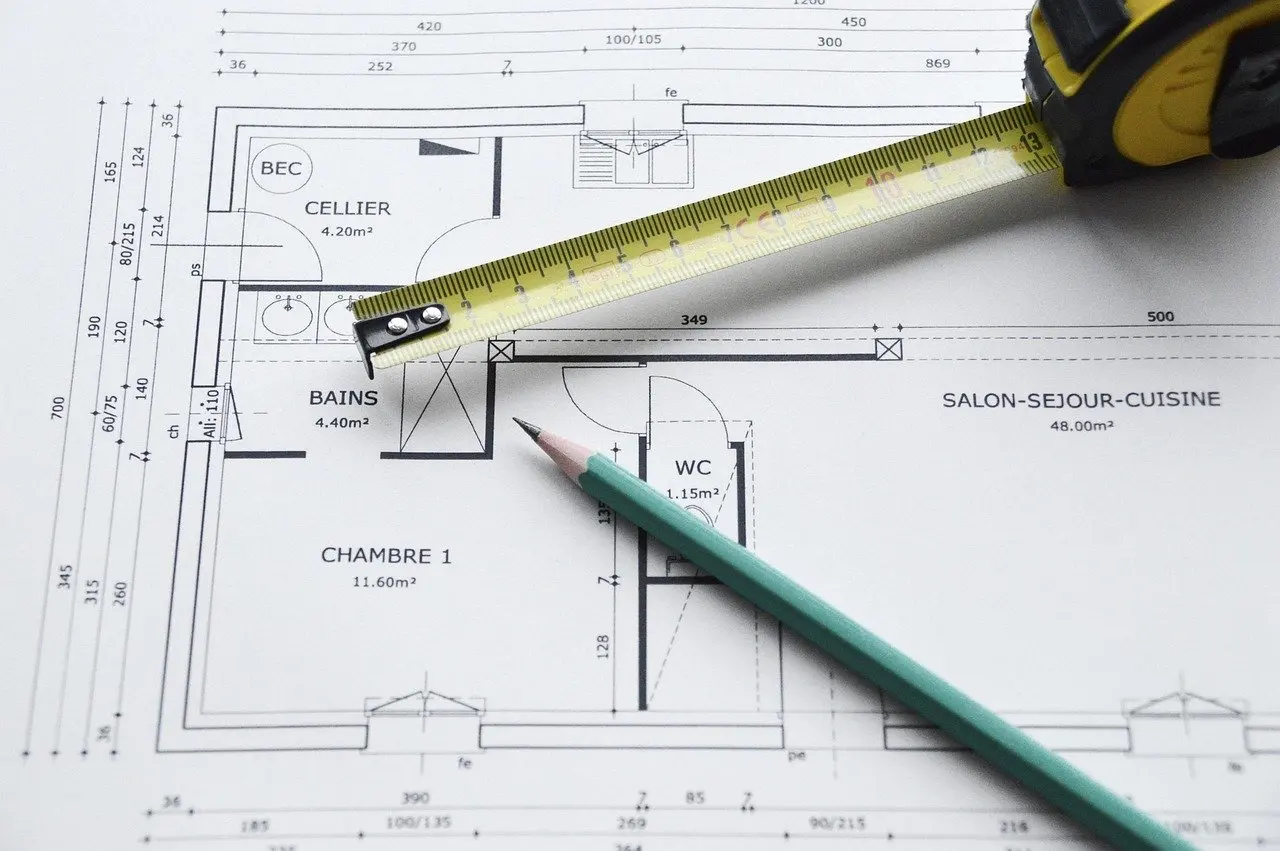
A home renovation checklist works best in phases: define needs and scope, set the budget and contingency, confirm permits, hire and sign a contract, order long-lead materials, then prepare the house. Tick them in that order.
This page is the tickable version. The wider decisions sit in our home renovation planning checklist guide. Treat the list as a loose guide, because contractor guidance notes that steps vary with project size, scope and the condition of the home.
First phase: needs, measurements and scope of work
Start with what the project must achieve. Remodeling guidance advises sorting the wish list into needs and wants before design and budgeting begin. That sorting decides what a quote should cover and what can be dropped if costs rise.

- ☐ Split needs from wants. Needs go into the scope of work; wants become optional line items you can add or cut later.
- ☐ Measure every affected room. Write dimensions down so designers and bidders price the same space.
- ☐ Ask a professional to assess the structure. Have a contractor evaluate your home’s structure and condition, and ask what permits the work is likely to need, as this checklist suggests.
- ☐ Write the scope of work. Describe what is changing, what stays, and which materials you expect, so every bid answers the same brief.

If the project adds floor area rather than updating existing rooms, the scoping questions change; how to plan a home addition covers that case. For older properties where hidden conditions are likelier, see how to renovate an old house.
Second phase: renovation budget and contingency
A renovation budget should list every anticipated expense, not just the contractor’s price. Contractor guidance from this planning checklist names materials, labor, permits and disposal fees. Another checklist adds design costs and even temporary living arrangements, which many homeowners forget.
Contingency is the reserve for surprises, kept separate from the base budget. The published figures differ, so pick a number deliberately rather than by default.
| Buffer | Recommended amount | Planning use |
|---|---|---|
| General contingency | 15-20% of total estimated cost | A working range for most projects. Use the upper end when the scope is still loose. |
| Bay Area contingency | 20% of base budget | A single firm figure from a regional contractor, useful as a cautious benchmark. |
| Schedule buffer | 10-15% added time | Pad the timeline separately so a late delivery does not force rushed decisions. |
These figures come from contractor checklists published by Legacy Painting & Renovating and Truitt & White, not from a regulator, so treat them as industry rules of thumb.
- ☐ Itemize costs. Materials, labor, permit fees, design costs and disposal fees each get a line.
- ☐ Add temporary living costs. Include them if you expect to move out or lose a kitchen.
- ☐ Set the contingency. Hold it apart from the base budget so it is not spent on upgrades.
Third phase: building permit and local rules
A building permit confirms that the project complies with local building codes, safety standards and zoning rules, according to this renovation checklist. The same source says structural changes, electrical work and plumbing rerouting almost always require permits. Cosmetic work usually sits at the other end, but that line is set locally.
Confirm whether your project needs one
Do not rely on a general list. Contact your city’s planning and building department before you finalize designs, and ask about their submission requirements and timelines, as Truitt & White advises. Depending on where you live, you may need permissions from the city or county building department as well as post-project inspections, per Criner Remodeling.
Plan for inspections and site paperwork
Permits require official inspections at various project stages. A physical copy of the approved permit and plans must be readily accessible at the job site. Put both on the checklist, so inspections do not stall work.
- ☐ Call the building department. Describe the work and ask which parts need a permit.
- ☐ Note submission requirements. Record documents, fees and review timelines before design is final.
- ☐ Agree who pulls the permit. Settle this in writing with your contractor.
- ☐ Keep approved permit and plans on site. Inspectors expect to see them.
Fourth phase: hiring a licensed contractor
Collect the paperwork before you commit to anyone. Verification is quick, and it screens out weak candidates before you spend time on bids.
- ☐ License check. Look the contractor up on your state licensing board’s database. In California that is the Contractors State License Board (CSLB), which this checklist says to check for a valid license.
- ☐ Insurance proof. Request proof of liability insurance and workers’ compensation.
- ☐ Itemized bids. Request detailed, itemized bids from at least three companies, so you can compare the scope of work and materials each includes.
- ☐ Written contract. It should set out payment schedules, a project timeline, specific materials and a clear scope of work before work starts.

Bids that differ widely often differ in scope, not price alone. Lay your written scope beside each bid and query anything missing before you rank them.
Fifth phase: materials, selections and lead times
Order long-lead materials before demolition starts. Contractor guidance lists custom cabinets, windows and special-order tile as typical examples. Confirm lead times for custom windows and doors before the schedule is fixed, as Truitt & White recommends, because a late delivery can idle a crew.

- ☐ Finalize selections. Choose finishes, fixtures and appliances before ordering, since changes after an order can be costly.
- ☐ Ask suppliers for current lead times. Published delivery estimates vary by product and maker, so ask for the date in writing.
- ☐ Sequence the schedule around deliveries. Build demolition and installation dates around the longest wait.
Sixth phase: pre-construction preparation at home
Pre-construction is the final stretch before work begins. Remove all items from the areas that are getting remodeled, as this remodeling checklist says, so crews have clear access and your belongings stay out of the dust.
- ☐ Plan daily life. If the kitchen is under construction, plan alternative ways to prepare and store food, per this whole-home checklist.
- ☐ Walk the utilities with the contractor. Ask which water, electrical or other services the work will touch and how they will be isolated.
- ☐ Confirm the start date. Do this only after permits, contract and long-lead orders are in place.
Closing the project
The sequence ends with a final walk-through of the space, followed by a punch list of anything unfinished, according to Criner Remodeling. Open a few windows and let the space dry out for a day or two before using it. Keep final payment tied to completing the punch list and passing any required inspections.
Frequently asked questions
Can I use this as a renovation planner template?
Yes. Copy the phases and tick-box items into a spreadsheet or notebook, then add your own rooms, contacts and dates under each phase.
Does the checklist change for small projects?
Yes. Steps vary with project size, scope and the home’s condition, so a small job may skip the permit or multi-bid steps while a large one needs every phase.
How much notice do inspections need?
It depends on the jurisdiction. Truitt & White notes that some cities in Alameda or Contra Costa counties may require several days’ notice, so ask your building department when you pull the permit.
Is waste removal included in a contractor’s price?
Usually. Criner Remodeling says most contractors include disposal in their process and price, so confirm it in writing before you sign.